


I began by removing the wood pulls, the cabinet hardware and the trim on the front of the cabinets. Below you can see the difference between the two cabinets after the doors, hardware and trim were removed. {Tip} If you are planning on reusing hardware, take a photo before removal to refer to when you are ready to reuse it.

The trim was held onto the front of the cabinets with glue and wood dowels. My husband took a hack saw blade and cut off the dowels that were stuck in the cabinet so they would be flush with the edge.


Next up it was time to cut the top off of each cabinet. We needed some way of guiding our circular saw along the side of the cabinet, so my husband screwed up a scrap piece of wood for the saw to slide along to make sure we got the straightest cut possible. We also used ScotchBlue Painters Tape on the cut line to help ensure a smooth cut without chipping or splintering the wood.

We were left with 2 cabinet tops and 2 drawer bottoms.


Now it was time to get painting and then on to reassembling. I had been seeing chalk paint used for furniture all over the place and could not wait to get my hands on some and try it. I read wonderful reviews about how chalk paint would stick to surfaces without having to sand the surface or use primer. I decided to use Annie Sloan Chalk Paint in Pure White on the main part of the wardrobe, Provence on the doors and drawers and Scandinavian Pink (by special request) on the inside of the drawers. After removing all of the drawer hardware, I sanded the drawer fronts to minimize the appearance of the old hardware lines.

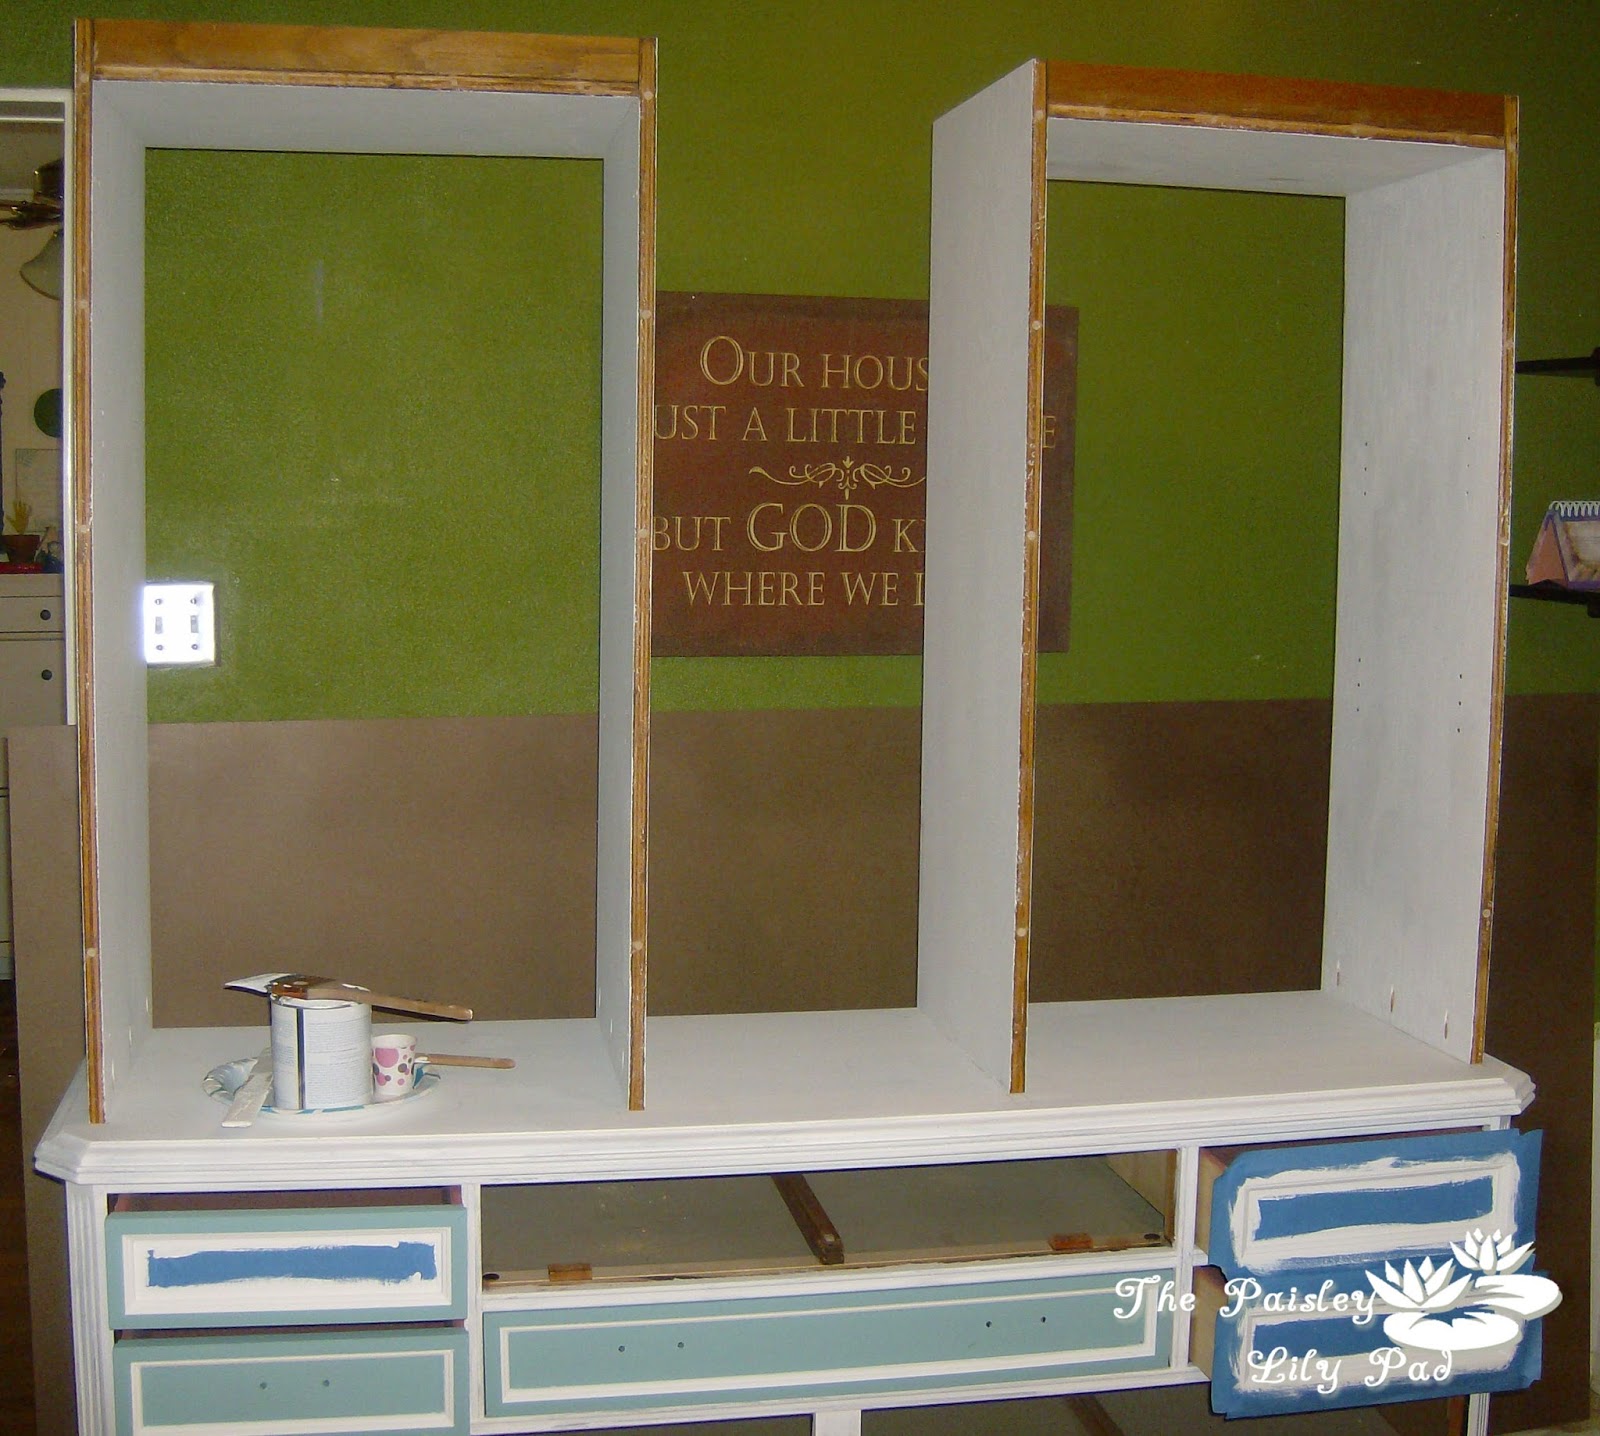
Here are all the drawers after a couple of coats of Provence and the dresser after a couple of coats of Pure White. I have to say that I loved using this paint! It dries so quickly and you do not have to wait 4 hours between coats like you do with latex paint. (sometimes even longer depending on the sheen)

Of course I had to try out just one drawer to see how it would look.....it seemed to be shaping up nicely!

After most everything was painted, we began to assemble the wardrobe. The tools we used were a Mini Kreg Jig Kit, Kreg Washer Head Pocket Screws, my favorite Makita Drill, wood dowels and a Quick Square.

We used the Kreg Jig to make pocket holes along the edges of the cabinet tops so we could securely attach them to the dresser. For a little extra insurance, we also drilled aligning holes into the dresser and the bottom of the cabinet tops to insert wood dowels. The dowels really helped to make sure that the tops stayed square as we screwed them into the dresser.

Then we attached the cabinet tops to the dresser.
Before we went much further in the assembly process, we decided to move the piece out of our kitchen into the girls' room. I wasn't real sure of how sturdy it would be and I didn't want to take a chance on it breaking or splitting. Plus, the dresser itself was quite heavy, then we added more weight on top of it.

And that is where I am going to leave y'all for now, looking at a strange, boring white piece of furniture with no drawers. I promise, it gets better!!
Be sure to stay tuned for my "painting in the kitchen woes" story.
**************************************
Disclosure: This post contains affiliate links.
No comments:
Post a Comment